
Epoxy Concrete Repair: Durable Solutions for Cracks and Damaged Floors
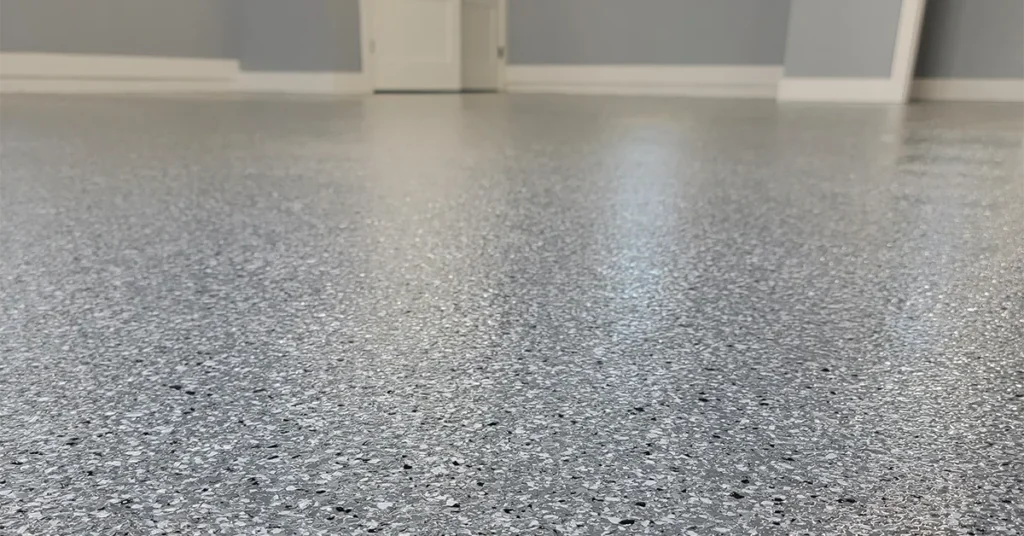
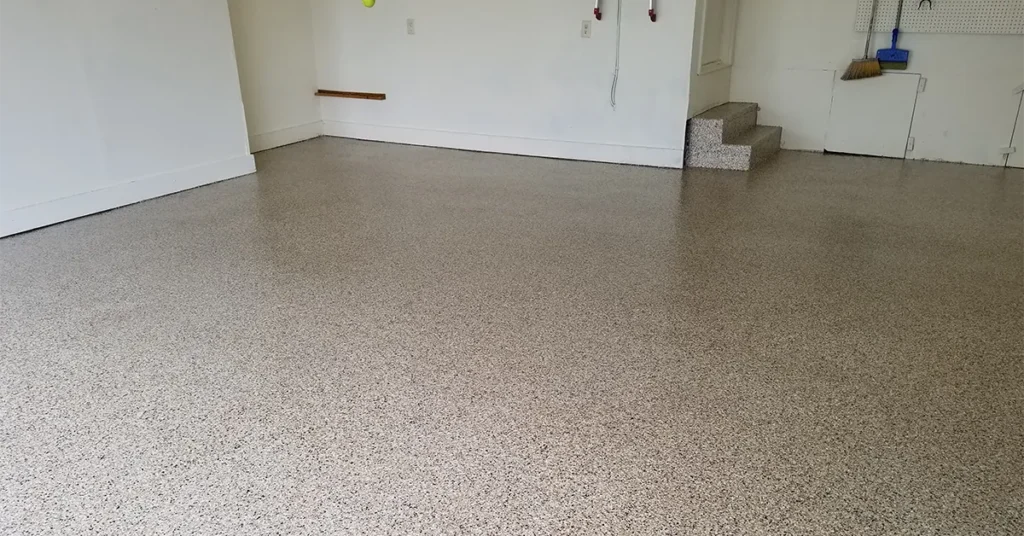
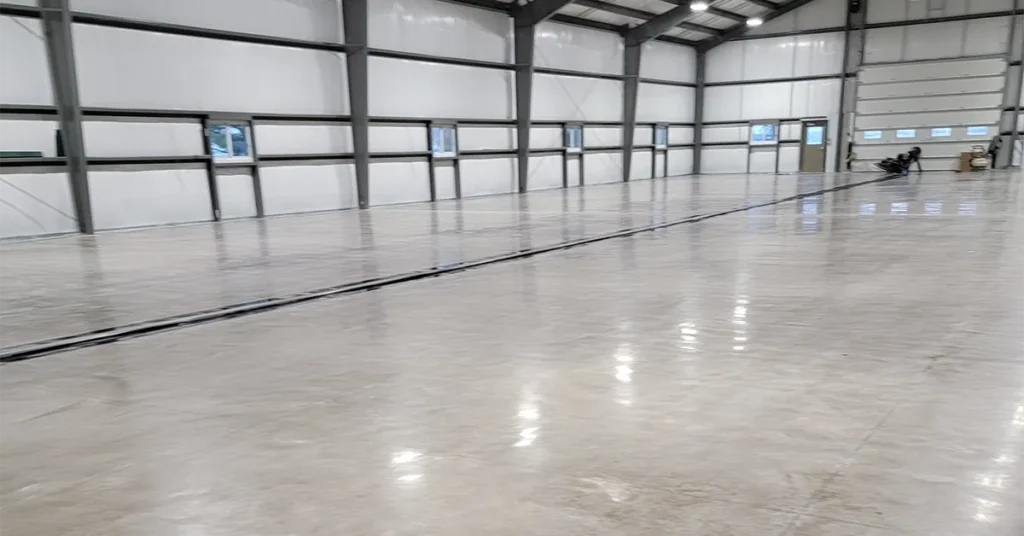
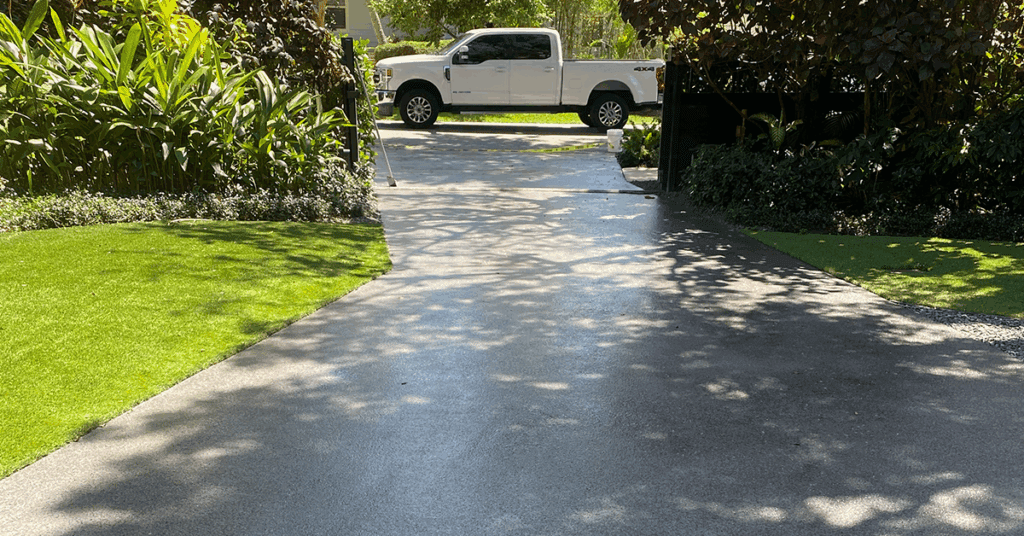
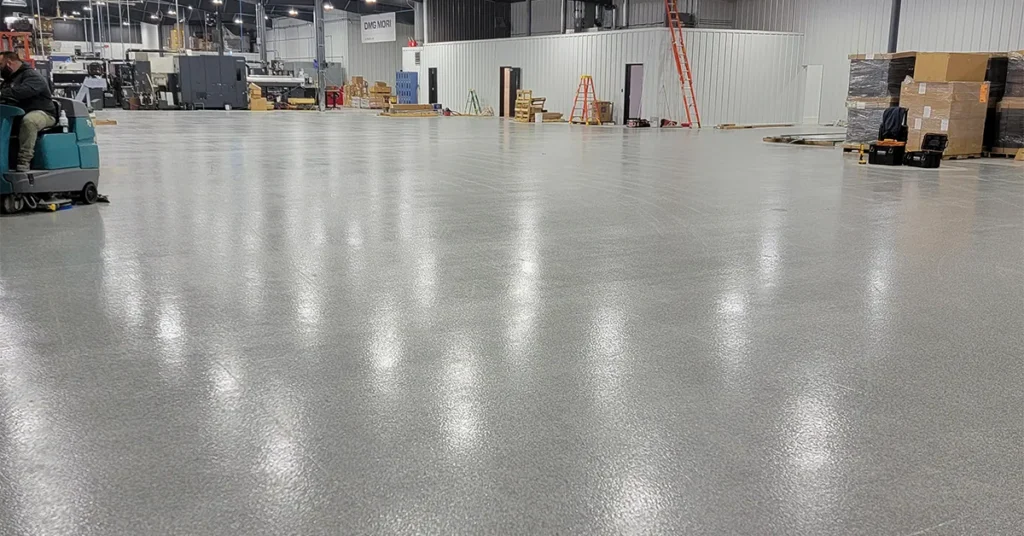
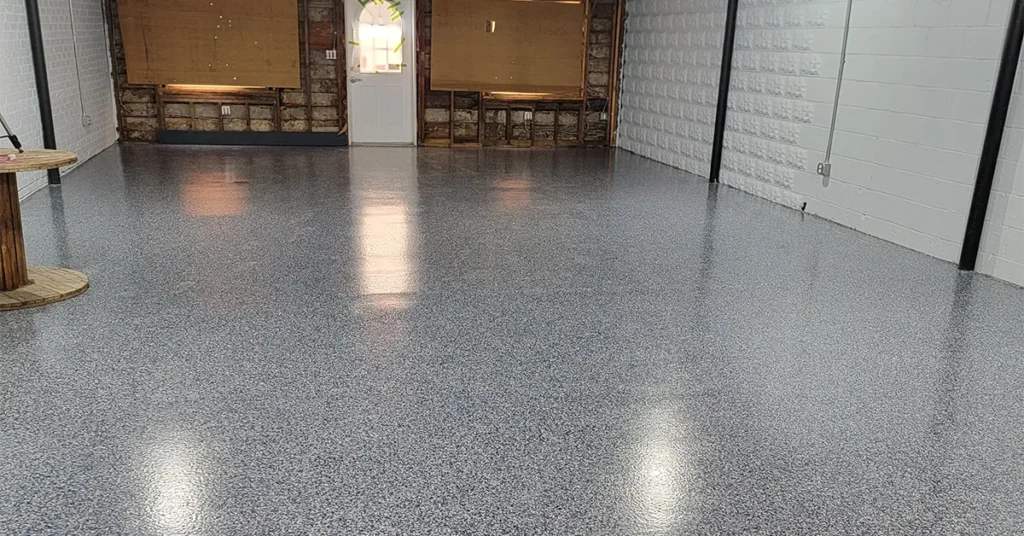
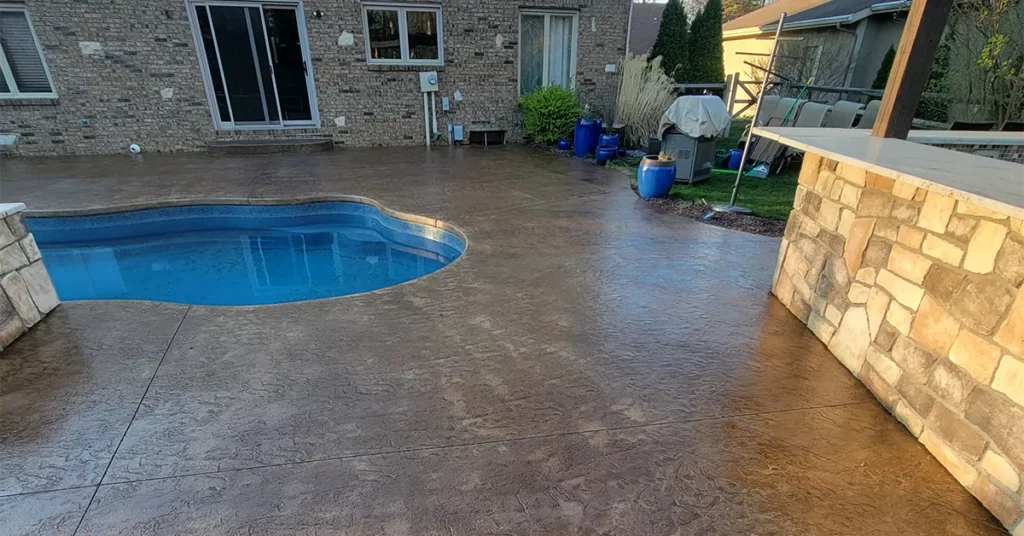
Concrete floors are known for their durability, strength, and long lifespan. Even so, time, weather exposure, heavy traffic, moisture, and natural settling can lead to cracks, chips, spalling, and surface damage. When these issues appear, homeowners and contractors often search for a reliable solution that restores strength and improves appearance. This is where epoxy concrete repair becomes one of the most effective and long lasting methods available. Epoxy is a professional grade material used for everything from industrial floor restoration to residential crack repair. It bonds deeply into pores, fills gaps, levels surfaces, and creates a hardened finish that can outperform the surrounding concrete. For garages, warehouses, driveways, basements, patios, and commercial spaces, epoxy provides a powerful repair option that keeps floors strong for years. In this complete guide, you will learn everything you need to know about epoxy concrete repair, including how it works, when to use it, what types of epoxies exist, and how to choose the right repair method for your floor. Whether you manage a commercial facility or want to fix cracks in your home garage, this guide gives you a full understanding of the process. What Is Epoxy Concrete Repair Epoxy concrete repair is the process of using epoxy based materials to fill, bond, seal, and restore damaged concrete surfaces. Unlike surface level patching products, epoxy chemically bonds to the concrete, creating a structural repair that restores the strength and integrity of the slab. The material cures to a rock hard finish that is resistant to impact, chemicals, extreme temperatures, and heavy use. This makes epoxy a preferred repair solution for areas that experience frequent foot or vehicle traffic. Most contractors consider epoxy one of the strongest repair materials because it can effectively fix: Cracks Pitting Spalling Surface deterioration Broken edges Deep voids With the proper epoxy type and application technique, concrete floors can look even better than they did originally. Why Choose Epoxy for Concrete Repair There are many types of concrete repair products on the market, but epoxy stands above the rest for several reasons. 1. Superior Strength and Bonding Power Epoxy bonds directly to the concrete, penetrating into pores and creating a bond that is stronger than the original surface. This prevents cracks from reopening and keeps the repaired area stable. 2. Long Lasting Durability Unlike patching compounds that break down over time, epoxy remains firm and stable for many years. It can handle heavy loads, chemical exposure, and abrasive conditions. 3. Moisture and Chemical Resistance Garage and industrial floors often come into contact with moisture, oil, fuel, salt, and harsh cleaners. Epoxy resists all of these elements, which helps prevent further damage. 4. Versatility for Multiple Repair Types Epoxy works for small surface cracks, deep structural flaws, large pit repairs, and smooth resurfacing. It is available in various formulas for different repair needs. 5. Smoother Finish for Coating or Painting If you plan to install a coating like epoxy paint, polyurea, or polyaspartic afterward, a repaired surface delivers a better final result. Common Types of Epoxy Used in Concrete Repair Different types of epoxy exist for different levels of damage. Understanding the options helps you choose the correct product. 1. Concrete Crack Repair Epoxy This type is thin and fluid. It penetrates deeply into cracks, bonding the concrete from the inside. It is ideal for narrow cracks that need structural reinforcement. 2. Concrete Repair Epoxy Paste Epoxy paste is thicker and works well for filling pits, small holes, and edge repairs. It can be applied with a putty knife or trowel for precise fixes. 3. Pourable Epoxy Concrete Repair Pourable epoxy is perfect for damaged slabs, deep voids, uneven surfaces, or wide cracks. It flows easily and levels itself, creating a smooth and even repair. 4. Injection Epoxy Injection epoxy is used for serious structural cracking. It is injected through ports to repair cracks that run through the slab, not just along the surface. 5. Epoxy Mortar Epoxy mortar mixes epoxy resin with sand or aggregate to create an incredibly strong repair material. It is ideal for severe damage or areas requiring high impact resistance. When Should You Use Epoxy for Concrete Repairs Epoxy is not needed for every small flaw, but it is the best choice for many situations. Here are signs that your floor may require epoxy concrete repair. Cracks that keep expanding Cracks caused by shifting soil or heavy loads Pitting from salt or moisture Spalling from freeze thaw cycles Surface peeling Deep depressions Large pieces breaking off Structural cracks in garage or basement floors If the damaged area affects the stability of the concrete or if the surface is becoming unsafe, epoxy is the right repair method. Step by Step Guide for Epoxy Concrete Repair Repairing concrete with epoxy can be a DIY friendly project when done correctly. Here is a full step by step outline to help you achieve a strong, long lasting repair. Step 1. Clean the Area Thoroughly Use a broom, vacuum, or pressure washer to remove dirt, dust, and debris. Repairs must be done on clean concrete. Step 2. Remove Loose Material Use a chisel, grinder, or wire brush to remove crumbling edges. Epoxy bonds best to solid material. Step 3. Prepare the Crack or Damaged Area For cracks, widen the opening slightly with a grinder so epoxy can penetrate. For pits and holes, remove all loose concrete to create a stable base. Step 4. Mix the Epoxy Epoxy consists of two parts that must be mixed thoroughly. Follow your product’s instructions carefully. Step 5. Apply the Epoxy For cracks, use a bottle, syringe, or injection system. For pits and chips, use a trowel or putty knife. For large areas, use pourable epoxy concrete repair and let it self level. Step 6. Smooth the Surface Use a trowel to create an even finish and remove excess material. Step 7. Allow to Cure Epoxy curing times vary from several hours to overnight. Avoid walking on it until it fully hardens. Once cured, the
Epoxy Concrete Repair: Durable Solutions for Cracks and Damaged Floors Read More »