

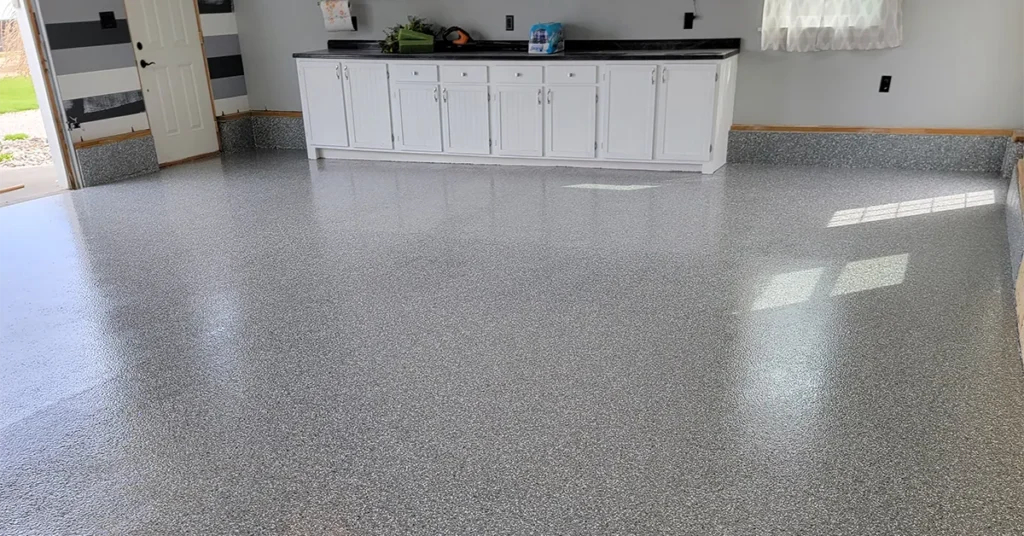
A garage floor takes more punishment than almost any other surface in your home. Oil drips. Hot tires. Dust. Tools. Heavy storage. Over time, the concrete begins to look dull and stained. This is where epoxy comes in. When applied correctly, it transforms a tired slab into a clean, glossy, durable floor that feels brand new.
If you have ever wondered how to epoxy garage floor surfaces the right way, this guide walks you through everything step by step. It explains the preparation process, the application method, and the real cost behind the project so you know exactly what to expect before you start.
Understanding Why Preparation Is Half the Work
Most people think epoxy is simply a coating you roll on and forget about. But epoxy does not forgive poor preparation. When concrete is not cleaned or repaired well, the coating will fail long before it should.
Preparation decides the outcome. The shine, the strength, the durability, and the smooth feel of the floor all begin long before the roller touches the surface.
Step One: Clear and Clean the Entire Space
Before anything else, the garage needs to be completely empty. Move storage bins, tools, shelves, and anything resting on the floor. This gives you room to work and allows the concrete to be inspected from corner to corner.
Once cleared, sweep every inch. Remove dust, debris, and loose material. A simple broom pass is not enough. Take your time so the surface is as clean as possible.
Step Two: Remove Stains and Degrease the Concrete
Oil stains are the main reason epoxy lifts or bubbles. They block the coating from bonding to the concrete. A strong degreaser is essential here. Scrub the stained areas, rinse them thoroughly, and repeat if needed.
Some stains sit deep in the slab. Do not rush this part. The more patient you are now, the longer the epoxy will last later.
Step Three: Repair Cracks and Damaged Spots
Hairline cracks may not seem like a big deal, but epoxy highlights imperfections. Cracks also allow moisture to rise through the slab, which weakens the coating.
Use a quality concrete patch product to fill and level all cracks. Smooth them carefully so the final surface looks even.
Step Four: Open the Pores of the Concrete
Epoxy needs something to grip. A smooth, sealed, or polished concrete floor will not allow the epoxy to bond deeply. You need to etch or grind the surface.
You can do this in two ways:
Acid etching
This solution roughens the concrete slightly, providing the epoxy with a surface to adhere to.
Mechanical grinding
A floor grinder opens the pores far more effectively and creates the strongest bond.
Most professionals use grinders because they produce a more reliable surface. If you choose this route, rent a grinder or hire someone to prepare the concrete for you.
Step Five: Rinse and Dry the Floor Completely
After etching or grinding, rinse the floor until the runoff water is clean. Allow the surface to dry fully. Even a small amount of moisture can cause problems. Some people wait overnight, while others use fans to speed things up.
Step Six: Mix the Epoxy Correctly
Epoxy comes in two parts that must be mixed together. Once mixed, the clock starts. You have a limited working time before the epoxy begins to thicken.
Stir slowly and consistently. Avoid whipping air into the mixture. Follow the instructions closely so the coating cures correctly.
Step Seven: Apply the Epoxy Base Coat
Start along the edges with a brush, then move to rollers for the larger areas. Work in sections. Keep a steady pace. The coating should look smooth, even, and glossy. If you are adding color flakes, sprinkle them while the surface is still wet.
A good base coat sets the tone for how clean and polished the final floor will look.
Step Eight: Add the Top Coat
Once the base coat cures, apply the clear protective layer. This top coat is what gives the floor its shine, strength, and chemical resistance.
This final layer locks everything in place and protects the design for years to come.
How Much to Epoxy Garage Floor: Realistic Cost Breakdown
Many homeowners ask how much to epoxy garage floor surfaces because the range can vary widely. The price depends on the size of the garage, the condition of the concrete, and the choice between doing it yourself or hiring a professional.
Here is a realistic view:
DIY epoxy
Most DIY projects fall between a few hundred and around one thousand, depending on:
- Epoxy kit
- Concrete cleaner
- Crack repair products
- Etching solution or grinder rental
- Tools and rollers
A DIY job is cost-friendly but also higher risk if preparation is rushed.
Professional installation
A professional installation usually ranges from the lower thousands to the upper thousands. The cost includes:
- Industrial grinding
- Repairs
- High-grade epoxy
- Decorative flakes or color systems
- Protective top coat
- Professional application and curing
Professionals deliver longer-lasting results with a smoother finish.
Tips for a Long-Lasting Epoxy Finish
Once the floor is complete, a little care goes a long way.
- Sweep regularly
- Wipe up spills quickly
- Use gentle cleaners
- Avoid dragging heavy tools or equipment
- Add mats near the entrance for extra protection
These small habits keep the floor glossy and strong for many years.
FAQ’s
Can any garage floor be coated with epoxy?
Most concrete floors can be coated, but damaged or sealed surfaces may need extra preparation.
How long does epoxy last?
A well-installed epoxy floor can last many years, depending on traffic and maintenance.
Does epoxy resist hot tire marks?
A high-quality epoxy system with a strong top coat resists hot tire pickup far better than low-grade DIY kits.
Can epoxy be applied to a damp floor?
No. Moisture causes bubbling and peeling. The floor must be completely dry before coating.
How long before I can park on the epoxy floor?
Most floors are ready for foot traffic within a day and vehicle traffic within three to five days, depending on the product.
Conclusion
Learning how to epoxy garage floor surfaces can feel overwhelming at first, but the process becomes clear once you understand the steps. Everything depends on preparation. When the concrete is cleaned, repaired, opened, and dried correctly, the epoxy bonds beautifully and lasts far longer.
Whether you choose a DIY project or hire a professional, the transformation is worth the effort. A glossy, durable, easy-to-clean garage floor makes the space feel more organized and more welcoming.