

Epoxy Garage Floor Installation Cost: DIY vs Professional Comparison
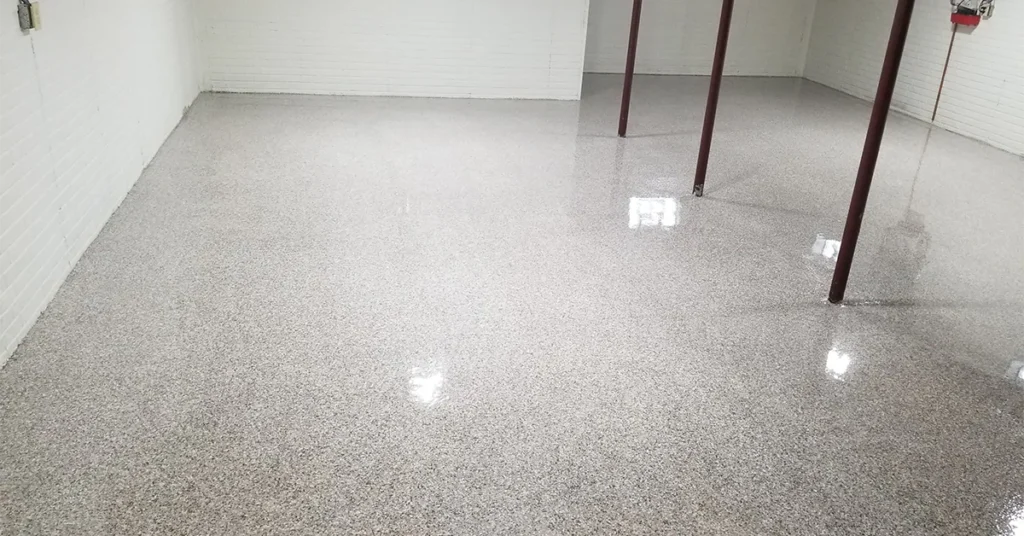
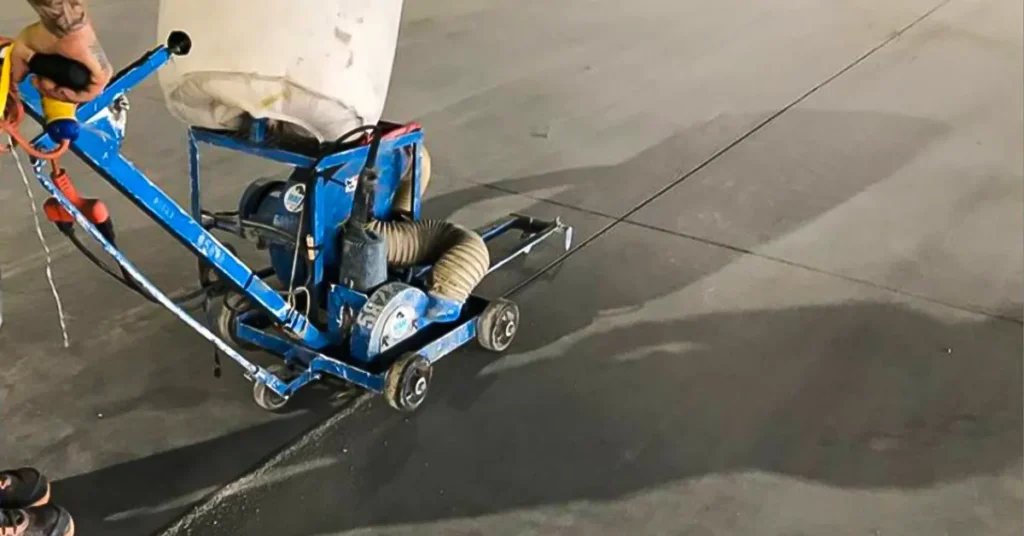
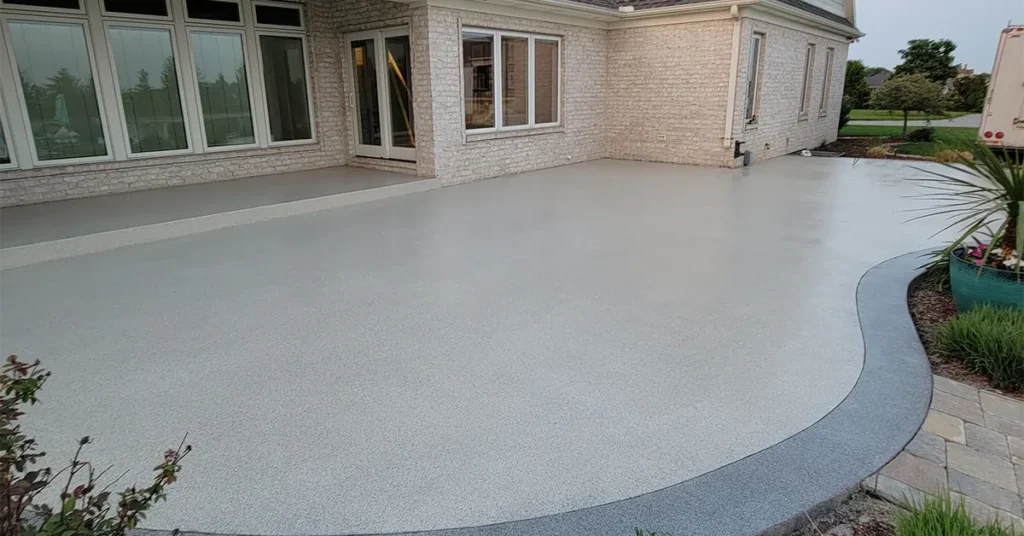
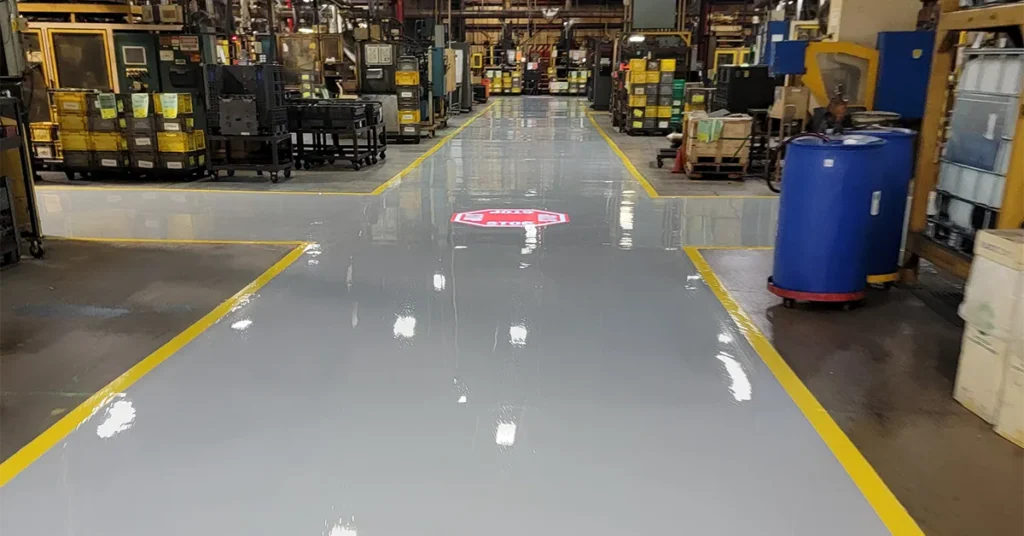
When homeowners consider upgrading their garage, epoxy flooring is often the first option they consider. It gives the floor a clean, glossy finish, transforming a dull concrete slab into something durable and attractive. However, before the work begins, one question arises ‘What is the real epoxy garage floor cost?’. The answer depends on who performs the work, the type of materials used, and the extent of preparation required for the concrete. The cost to epoxy a garage floor can shift from budget-friendly to premium depending on these factors. Many people also struggle with the decision of doing the work themselves or hiring a professional crew. This guide breaks everything down, allowing you to make a confident choice that suits your home and budget. Why Epoxy Flooring Has Become So Popular Epoxy floors are strong, visually appealing, and far easier to clean than bare concrete. They resist stains, chemicals, scratches, and hot tire marks. A garage often becomes more than a parking space. It can be a workshop, a gym area, a storage room, or a combination of all three. Epoxy flooring can handle all of it without showing much wear. Due to these benefits, the question of how much it costs to epoxy a garage floor continues to gain attention. Let’s look at what shapes the final price. What Affects the Epoxy Garage Floor Cost Size of the Garage A single-car garage needs less material and less time. A two-car or three-car garage requires more coverage and raises the cost. Condition of the Concrete If your concrete has cracks, stains, or uneven patches, it needs more preparation. Prep work is often the hidden cost that catches people off guard. Type of Epoxy Home kits use basic epoxy blends. Professionals use higher-grade coatings that last longer and look better. Stronger products increase the garage floor epoxy cost, but only because they perform at a higher level. Custom Features Flakes, metallic finishes, colored layers, and premium top coats can shift the final number depending on the design you want. DIY Epoxy Garage Floor Cost Many homeowners opt for the DIY approach initially because it appears budget-friendly. The average kit costs less than a professional installation, but the kit alone does not tell the whole story. What You Might Spend on DIY Epoxy kit from a home store Concrete cleaner and degreaser Crack and patch repair products Etching solution or a rented grinder Rollers, brushes, gloves, mixing tools A clear top coat for protection Once everything is added, the DIY total typically falls between a few hundred and around one thousand dollars, depending on the tools and preparation needs. The Challenge Behind DIY Installation The cost to epoxy a garage floor yourself might look appealing, but the difficulty of the job is often underestimated. Concrete must be cleaned deeply. Oil must be removed completely. The surface often needs grinding to help the epoxy bond. Any mistake in the prep stage weakens the final finish. Epoxy also cures quickly. Once mixed, you must work fast and apply it evenly. If streaks or thin spots appear, they cannot be fixed without grinding the entire surface again. When DIY Makes Sense DIY works best for small garages with concrete that is already in great shape. It also helps if the homeowner has experience with heavy prep work and understands the timing involved. Professional Epoxy Garage Floor Cost Hiring a professional crew costs more upfront, but the difference shows in longevity, strength, and appearance. The average professional garage floor epoxy cost ranges from the lower thousands to the upper thousands, depending on the size and condition of the floor. What You Get With a Professional Installation Surface grinding with commercial machines Deep crack repair and patch restoration High-quality epoxy or polyurea coatings Decorative flake or metallic designs Durable top coats that protect against UV exposure Smooth and even application A strong finish meant to last for many years These coatings are thicker and far stronger than store-bought kits. They bond deeper into the concrete and resist peeling, fading, and hot tire marks. Why Many Homeowners Choose Professionals Professionals provide consistency, speed, and long-term durability. The floor cures evenly, looks polished, and stays in strong condition for many years with little maintenance. The higher cost makes sense for anyone who wants a long-lasting upgrade. DIY vs Professional Cost Comparison DIY Lower upfront cost Shorter lifespan More physical labor Higher risk of peeling or uneven texture Professional Higher upfront cost Greater strength and durability Cleaner and faster installation Better long-term value DIY saves money in the moment. Professionals save money over time. FAQ’s Is epoxy flooring worth the cost? Yes. Epoxy flooring strengthens the concrete, resists stains, and makes the garage easier to clean. It also lasts far longer than paint or sealers. How long does a professionally installed epoxy floor last? A professional epoxy or polyurea system can last ten to twenty years or more, depending on the coating used and how the garage is maintained. Can a DIY epoxy floor last a long time? A DIY epoxy floor can look good at first, but it often fades or peels sooner than professional coatings because the products are thinner and the prep work is harder to do correctly. How do I know if my concrete needs extra preparation? If the concrete has cracks, deep stains, or a smooth, glossy finish, it will need grinding or patchwork before epoxy can bond properly. What raises the garage floor epoxy cost the most? The biggest price factors are the size of the garage, the condition of the concrete, and the type of coating chosen. Premium coatings and detailed flake or metallic designs increase the final total. Conclusion Understanding the true epoxy garage floor cost helps you make a decision that matches your expectations and your budget. DIY installation offers a lower starting price, but it requires skill and patience. Professional installation costs more, yet delivers long-lasting strength and a polished look that stays beautiful for many years.
Epoxy Garage Floor Installation Cost: DIY vs Professional Comparison Read More »